
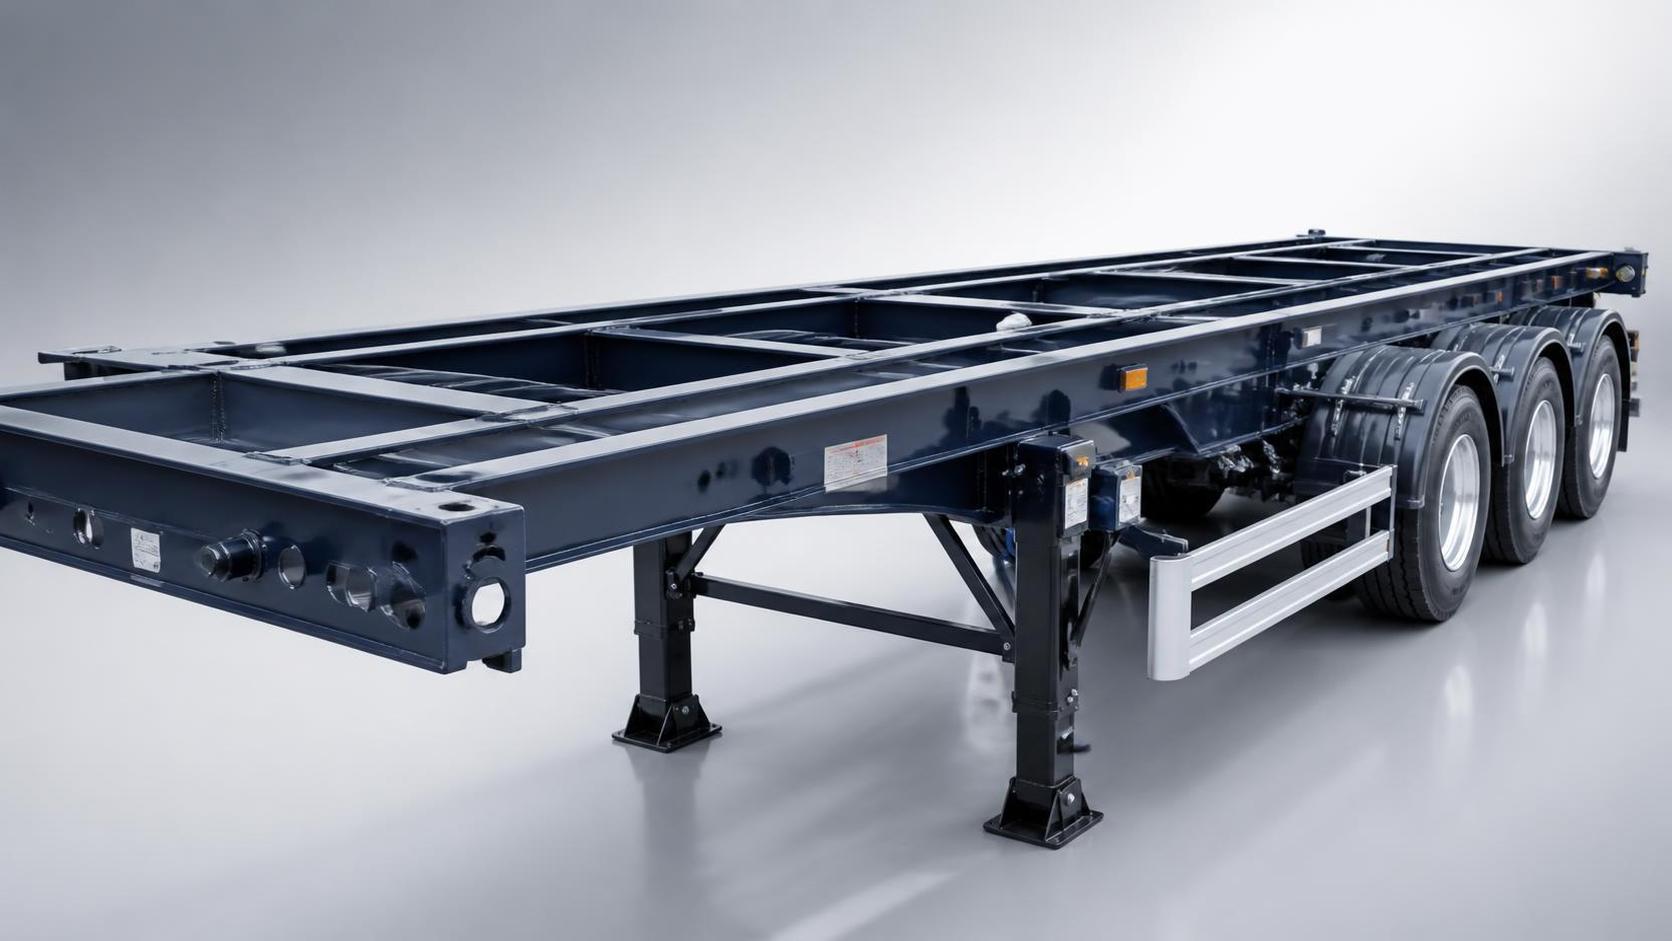
Before buying used trailers, the real question is not whether they look clean, but whether the frame still carries load the way it should. For technical evaluators, the priority is finding structural damage early enough to reject a trailer before hidden defects become repair costs, downtime, or safety exposure. The best inspections focus on measurable signs of stress, repair, corrosion, and alignment problems rather than cosmetic wear.
This guide gives a practical way to inspect used trailers for structural damage before purchase. It is built for people who need a defensible decision, not a casual walkthrough, so the focus stays on frame integrity, weld quality, crossmembers, suspension mounts, and evidence of past impact or overloading.
What matters most in a used trailer inspection?
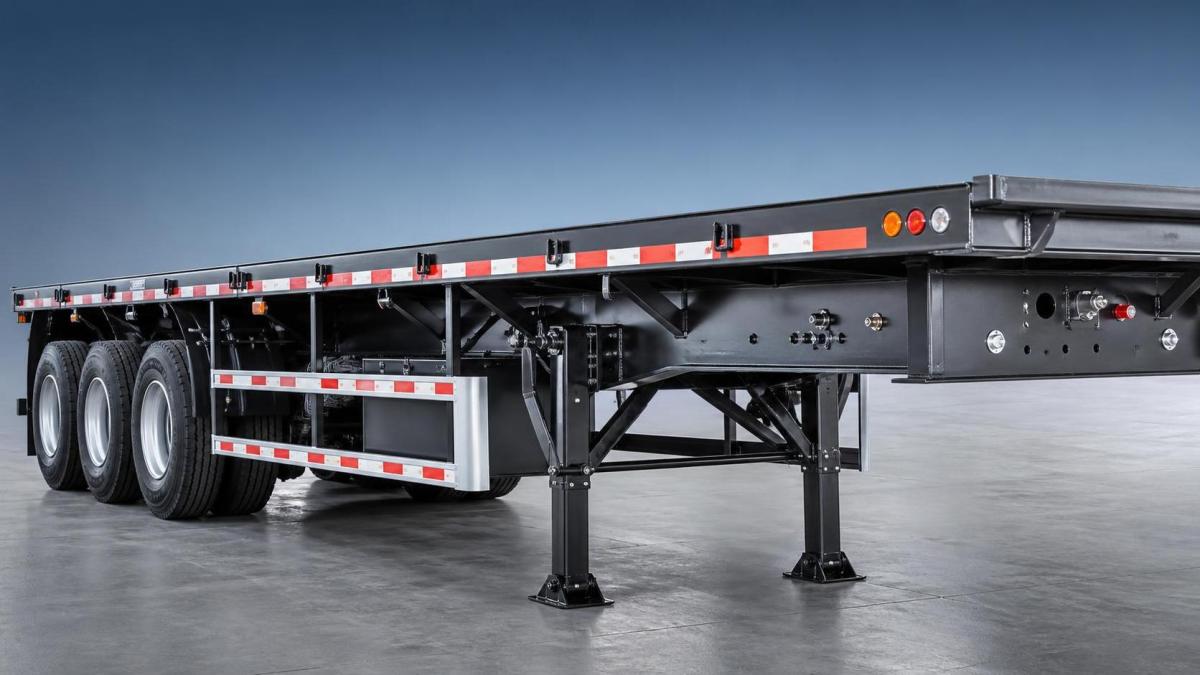
The first pass should answer one question: is the trailer structurally sound enough to justify deeper review? If the frame is compromised, no amount of tire tread or fresh paint changes the risk profile.
Start with the trailer’s overall geometry. Stand back and check for sagging, twist, uneven deck height, or tires that do not sit square. Those visible clues often point to bent rails, damaged suspension points, or prior collision repair.
From there, move to the load-bearing structure. On used trailers, damage often concentrates where stress is highest: around the kingpin or coupler, landing gear area, suspension brackets, axle mounts, and rear frame ends. These locations should be examined first, not last.
A useful rule is to separate surface issues from structural issues. Rust on a fender may be tolerable; rust on the main rail, crossmember joints, or weld seams may not be. The inspection should always ask whether the defect affects strength, alignment, or fatigue life.
How do you inspect the frame for damage?
Inspect the main rails, side members, and front and rear frame sections for bends, buckling, ripples, and uneven weld repairs. Any distortion in straight members usually means the trailer has absorbed a significant load event or impact.
Use a consistent reference point when checking alignment. Measure rail spacing, compare left and right sides, and look for differences in height at multiple points along the chassis. Small deviations can be a warning sign, especially if they cluster near repairs or mounting points.
Pay close attention to cracks radiating from holes, brackets, or weld toes. These are not ordinary cosmetic flaws. They often indicate localized fatigue, repeated stress, or improper repair work that may continue to propagate after purchase.
If the trailer has been patched, inspect the quality of the repair itself. Overlapping plates, grind marks, irregular weld beads, and mismatched steel sections can reveal that the structure was restored for appearance rather than engineered recovery. A clean repair is not proof of strength, but a poor repair is strong evidence of risk.
What should you look for in welds and joints?
Welds tell you how the trailer has been built, repaired, and stressed over time. Healthy welds are consistent, fully fused, and free from cracking, undercutting, porosity, and separation at the edges.
Focus on high-stress joints first. That includes spring hangers, crossmember connections, landing gear mounts, rear impact areas, and any welded reinforcement plates. If a weld is cracked or has started to pull away from the base metal, assume the underlying joint has already been compromised.
Not every rough weld is a failure, but inconsistent work deserves scrutiny. Excessive spatter, uneven penetration, or welds that look layered on top of rust or old paint suggest weak fabrication or field repairs done without proper preparation. Those details matter because they affect long-term fatigue resistance.
Use light and, if possible, magnification to inspect both visible and hidden edges of joints. Hairline cracks often show up where welds meet brackets or at the ends of repaired sections. If the trailer has been repainted, check whether paint is hiding heat discoloration or old cracking patterns.
Why are crossmembers and suspension mounts critical?
Crossmembers and suspension mounts carry repeated dynamic loads, so failures here can make a trailer unstable even when the outer frame looks acceptable. This is where structural damage often becomes operational risk.
Look for broken, bent, or missing crossmembers, especially near axle groups and high-load zones. A trailer may still roll normally with minor damage, but reduced crossmember integrity can lead to deck flex, cargo shifting, and accelerated frame fatigue.
Suspension mounts deserve close attention because they manage the interface between road shock and the chassis. Cracks around hangers, spring seats, air suspension brackets, or torque arm mounts can point to overload history, poor maintenance, or alignment issues.
Also check fasteners, bushings, and hardware condition. Loose or elongated bolt holes may indicate movement that has already worn the structure. If a mount has shifted enough to leave witness marks, the problem is usually more advanced than simple wear.
How do corrosion and previous repairs change the risk?
Corrosion is more than a surface issue when it reaches load-bearing steel. Deep rust reduces section thickness, weakens joints, and makes cracks more likely under normal service loads.
Inspect areas that hold moisture or road spray, including underside members, underside of the deck, rear frame extensions, and around trapped seams. Flaking rust, pitting, and swelling around welds usually signal a longer-term structural problem, not just cosmetic aging.
Previous repairs need to be read like evidence. A replaced section may be acceptable if it was properly engineered and documented, but a patch without traceable workmanship increases uncertainty. Ask whether the repair was tied to an accident, an overload event, or corrosion loss.
When repair history is vague, assume the burden of proof is on the trailer. That means the inspection should verify whether repaired areas match surrounding dimensions, metal thickness, and joint quality. If they do not, structural confidence drops quickly.
How do you judge whether a trailer is worth buying?
A good purchasing decision balances condition, intended use, and repair cost. The question is not whether the trailer has any wear, but whether its condition still supports the loads and duty cycle you expect.
Minor surface corrosion, worn coatings, and isolated non-structural damage may be acceptable on a lower-cost unit. Bent rails, cracked welds, shifted suspension geometry, or evidence of major impact should usually trigger a hard stop unless the price and repair plan clearly justify the risk.
Technical evaluators should also consider how the trailer will be used after purchase. A trailer that is marginal for heavy freight may still be acceptable for light service, but only if the structural condition is stable and documented. The intended application should guide the acceptance threshold.
If the inspection raises multiple concerns in the same area, treat that clustering as a warning. A cracked hanger, nearby corrosion, and uneven tire wear together are stronger evidence of systemic stress than any single defect on its own.
What is the best inspection workflow before purchase?
Use a repeatable sequence so the inspection is defensible. Start with a visual walkaround, then move to frame geometry, welds, crossmembers, suspension, corrosion, and repair evidence. Finish with measurements and documentation.
Take photos of every questionable area, even if you later decide the issue is minor. Good records help support a reject decision, a negotiation, or a post-purchase maintenance plan. For technical teams, documentation is part of the evaluation, not an afterthought.
If possible, compare the trailer against another unit of the same class or model. A side-by-side review makes asymmetry, poor repairs, and deformation easier to spot. It also helps separate normal age-related wear from abnormal structural decline.
When uncertainty remains after the visual inspection, escalate to more detailed testing or a more experienced structural reviewer. The cost of a deeper check is usually lower than the cost of discovering frame failure after the trailer enters service.
Conclusion
Inspecting used trailers for structural damage is mainly about separating acceptable wear from hidden failure risk. Focus on the frame, welds, crossmembers, suspension mounts, corrosion, and repair quality, because those areas determine whether the trailer can still carry loads safely and reliably.
For technical evaluators, the strongest purchase decisions come from consistent observation, careful measurement, and a clear threshold for rejection. A trailer that looks usable is not enough; it must also prove that its structure is still fit for service. That is how you avoid buying risk disguised as inventory.